
March Weekends in the Garden: A Gentle Awakening
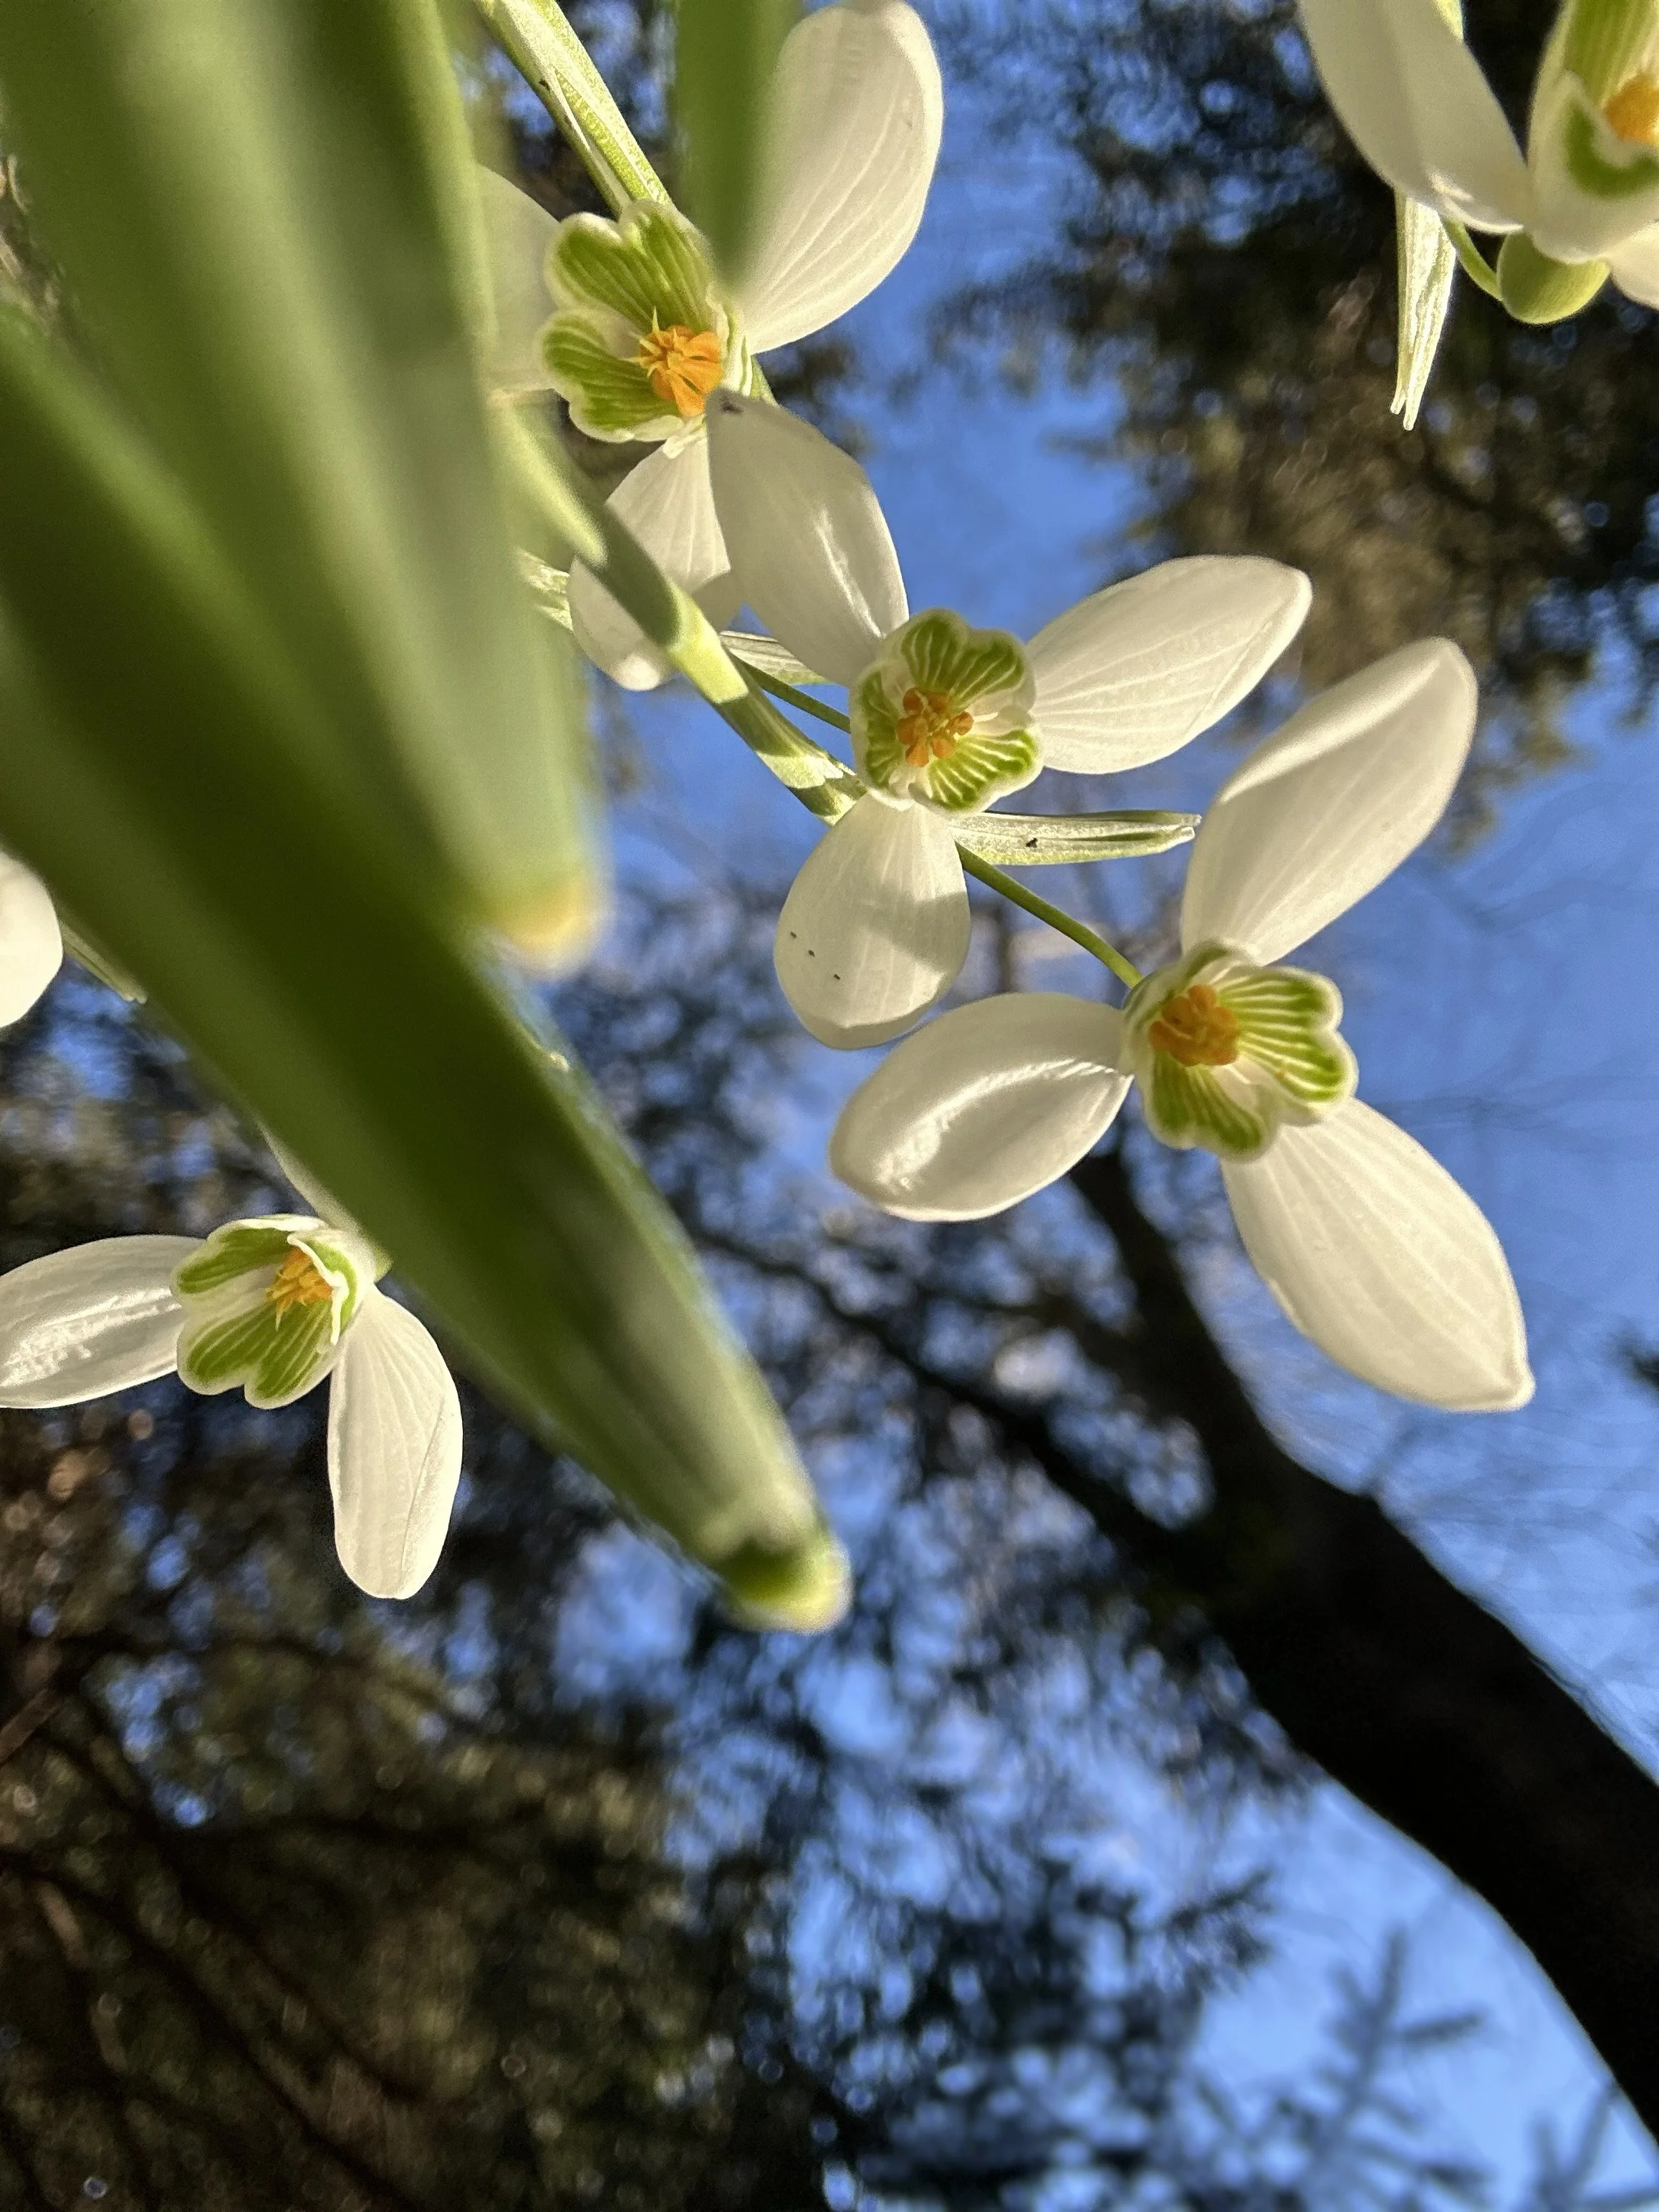
Tiny white bells, nodding gently on green stems—snowdrops, one of the first brave bloomers of the season. These small but mighty flowers push up through cold soil, through leaf litter and even light frost, as if to say, Don’t worry, spring is coming. Their resilience is a quiet encouragement that warmer, longer days are on the way.
March is that in-between month where winter still lingers, but spring is undeniably stirring. The weekends bring a mix of crisp air and the occasional burst of warmth, the kind that makes you throw on a jacket and head outside, eager to shake off winter’s grip on the garden. There’s work to be done—cleaning, pruning, and clearing away the remnants of colder days—but also small moments of beauty, like the first snowdrops poking through the soil, reminding us that spring is just around the corner.
Clearing Away Winter’s Leftovers
The first order of business? Clearing out the mess winter left behind. Leaf debris, fallen twigs, and soggy, forgotten pots need to be tidied up to give the garden a fresh start. Wet, compacted leaves can smother emerging plants and create a haven for pests, so raking them up isn’t just about appearances—it’s about giving everything beneath a chance to breathe.
Pots that sat out all winter often need attention, too. If you’ve left containers filled with soil, now’s the time to check for waterlogged roots or cracks from the freeze-thaw cycle. Emptying, scrubbing, and refilling them with fresh soil gets them ready for new plantings.
Pruning for a Fresh Start
March is a great time to prune boxwoods and other shrubs before they put on new growth. For boxwoods, this means shaping them carefully—just enough to encourage air circulation and maintain their form, but not so much that you cut into old wood, which can be slow to recover. For other deciduous shrubs, removing dead or damaged branches helps direct energy into healthy new growth. And if you have hydrangeas, now’s the time to figure out what kind you have—some bloom on old wood, and you don’t want to accidentally snip off this year’s flowers.
The First Signs of Spring
Just as you’re elbow-deep in garden cleanup, grumbling about how much there is to do, something catches your eye. Tiny white bells, nodding gently on green stems—snowdrops, one of the first brave bloomers of the season. These small but mighty flowers push up through cold soil, through leaf litter and even light frost, as if to say, Don’t worry, spring is coming. Their resilience is a quiet encouragement that warmer, longer days are on the way.
So while March weekends may still require gloves and a warm cup of tea afterward, they also bring the first hopeful signs of life returning to the garden. A little pruning, a little tidying, and a few snowdrops later, and suddenly, winter doesn’t feel quite so endless anymore.

Starting Seeds at Home: The Foolproof Method for Success
So, you want to start seeds at home? Fantastic. Nothing makes you feel more like a competent adult than growing your own food or flowers from tiny specks of potential. Plus, it's way cheaper than buying plants at the nursery, and you get bragging rights when your tomatoes taste better than your neighbor’s. (They will.)
But let’s be real—seed starting can feel a little overwhelming at first. There’s soil, containers, lights, watering schedules… it’s enough to make a person just buy basil at Trader Joe’s and call it a day. But not you! You’ve got this. And I’m here to make sure you don’t end up with a tray of sad, moldy dirt.
Step 1: Choose Your Seeds Wisely
Before you start throwing seeds into soil like a toddler with a handful of Cheerios, let’s make sure you’re planting the right ones in the right place.
🌱 Best Seeds for Starting Indoors (because they’re divas and need a head start):
Vegetables: Tomatoes, peppers, eggplants, broccoli
Herbs: Basil, parsley, oregano
Flowers: Zinnias, cosmos, snapdragons
📌 Pro Tip: If you’re starting seeds indoors, read the seed packet. I know, I know—reading instructions is annoying. But they’ll tell you important things like how deep to plant the seeds and whether they need light to germinate. Trust me, it’s worth the 10 seconds.
Step 2: Gather Your Supplies (No, You Don’t Need Fancy Stuff)
Forget overpriced gardening gadgets. Here’s what you actually need:
✔️ Containers: Recycled yogurt cups, egg cartons, actual seed trays… just make sure they have drainage holes. Plants hate wet feet.
✔️ Seed-Starting Mix: This is NOT the same as potting soil. It’s lighter, fluffier, and won’t suffocate your seedlings.
✔️ Light Source: A sunny window might (probably not) work, but grow lights will keep your seedlings from growing all tall and spindly.
✔️ Humidity Help: A plastic dome, a Ziploc bag, or the clear container your grocery store cookies came in—whatever keeps the moisture in without drowning the poor things.
💡 DIY Hack: Those rotisserie chicken containers from Costco? Instant mini greenhouse. You’re welcome.
Step 3: Plant Like a Pro (or at Least Pretend You Know What You’re Doing)
Now comes the fun part—burying seeds in dirt and hoping for the best. Here’s how to do it properly:
Fill your containers with seed-starting mix. Don’t pack it down like you’re making an espresso shot. Fluff is your friend.
Plant the seeds at the right depth. This is NOT the time to go rogue. Follow the seed packet instructions. Tiny seeds usually sit right on top, while bigger seeds go deeper.
Water gently. Use a spray bottle or drizzle water like you’re adding dressing to a fancy salad. No floods, please.
🚨 Common Mistakes:
❌ Burying seeds too deep.
❌ Overwatering—mushy soil = dead seedlings.
❌ Forgetting to label—trust me, you will forget what you planted where.
Step 4: Keep ‘Em Alive (The Hardest Part, TBH)
Here’s what your seeds need to sprout into the glorious plants they were meant to be:
🌞 Light: 12-16 hours a day.
🌡️ Warmth: 65-75°F is the sweet spot. A heat mat speeds things up, especially for tomatoes and peppers.
💦 Water: Keep the soil moist but not soggy. If you’re overwatering, your seedlings will keel over in protest.
📌 Troubleshooting Time:
🚨 Mold? You’re watering too much. Let them breathe.
🚨 Leggy seedlings? Not enough light. Move them closer to the light source.
🚨 Nothing is sprouting? Check the seed age. Old seeds = sad, lifeless dirt.
Step 5: Transplanting Without Killing Everything
Once your seedlings have two sets of real leaves, it’s time to harden them off before sending them into the cruel, unpredictable world of your backyard.
🔄 The Hardening Off Process (a.k.a. Seedling Boot Camp):
Day 1: Put them outside in the shade for an hour.
Days 2-6: Increase outdoor time each day, moving them into partial sun.
Day 7-10: They’re tough enough for full sun and longer exposure.
After a week or so, transplant them into your garden like the proud plant parent you are.
💡 Pro Tip: Transplant in the late afternoon or on a cloudy day to avoid sun shock. Your plants will thank you.
Final Thoughts: You’re Basically a Gardening Legend Now
Starting seeds at home is ridiculously satisfying—and once you nail it, you’ll never go back to store-bought plants. It’s cheaper, more fun, and let’s be honest… it gives you bragging rights.
So, what are you planting this season? 🌱✨